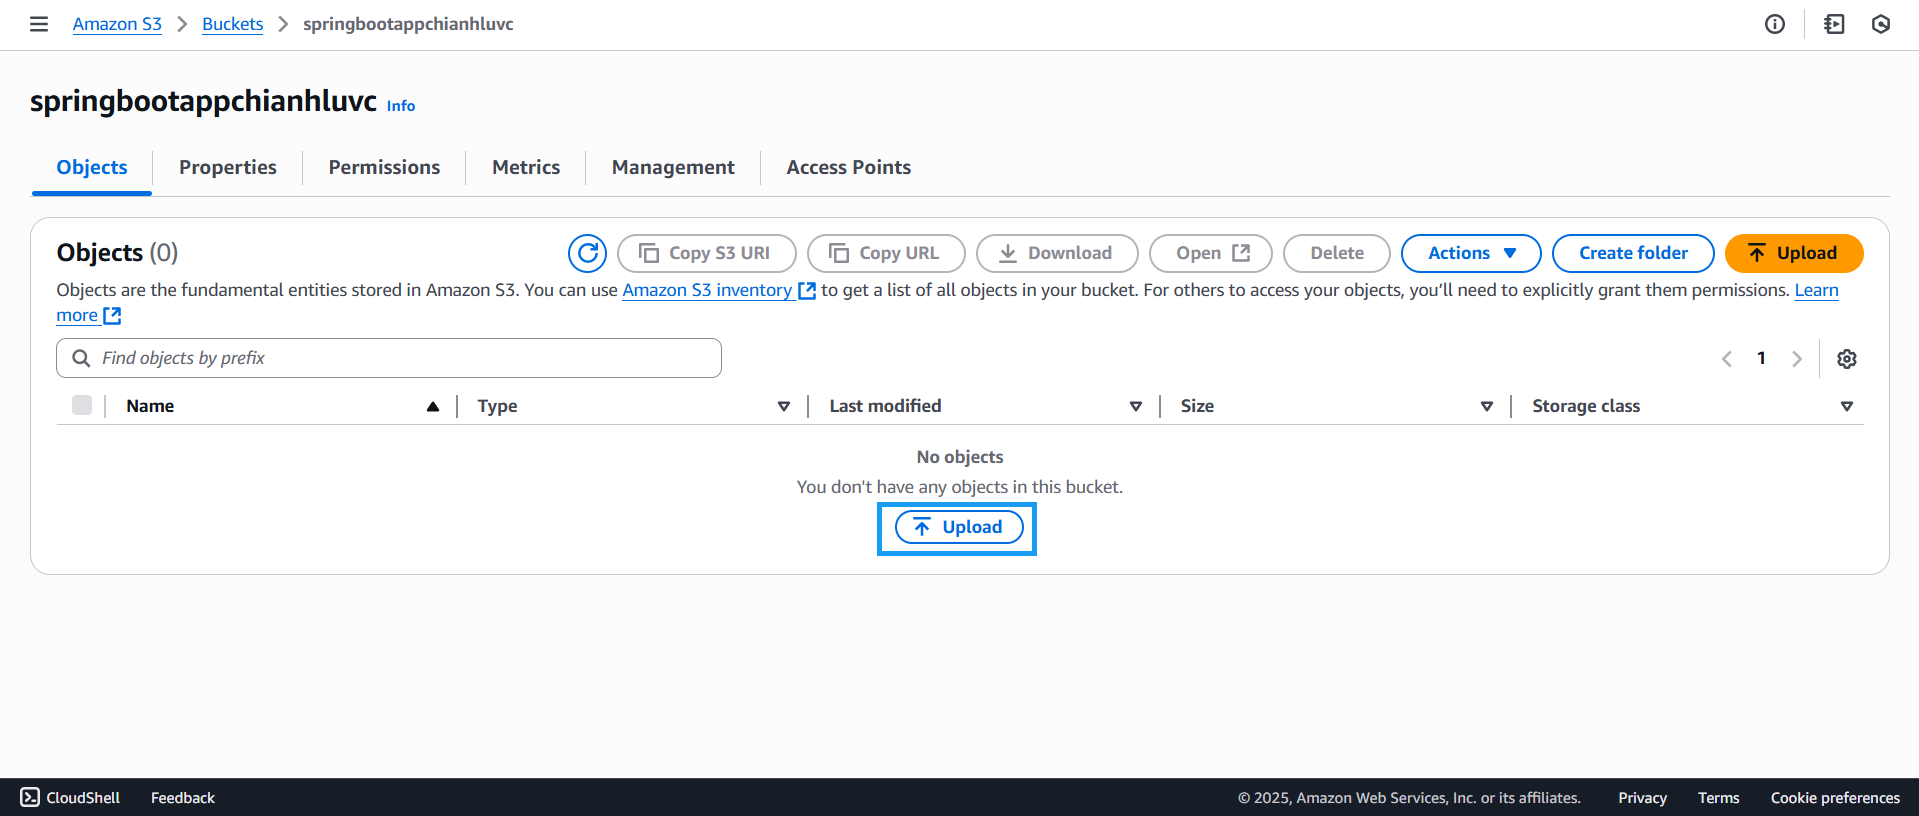
Deploy Source to S3
- Go to the created bucket and click Upload.
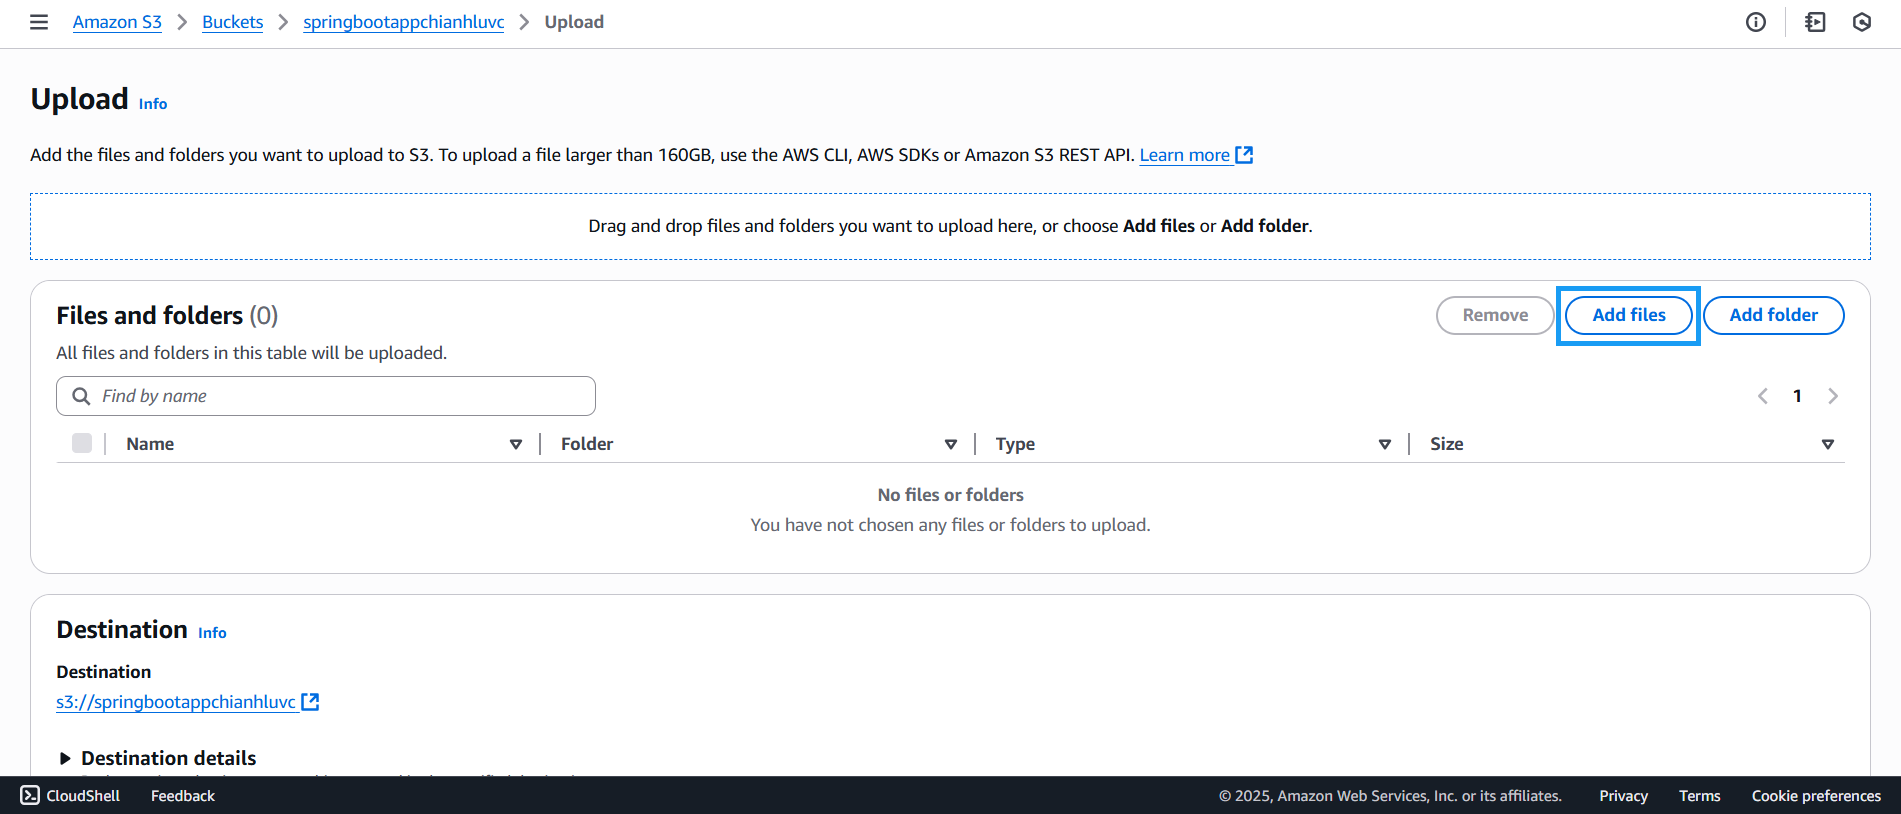
- On the upload page:
- Click Add files.
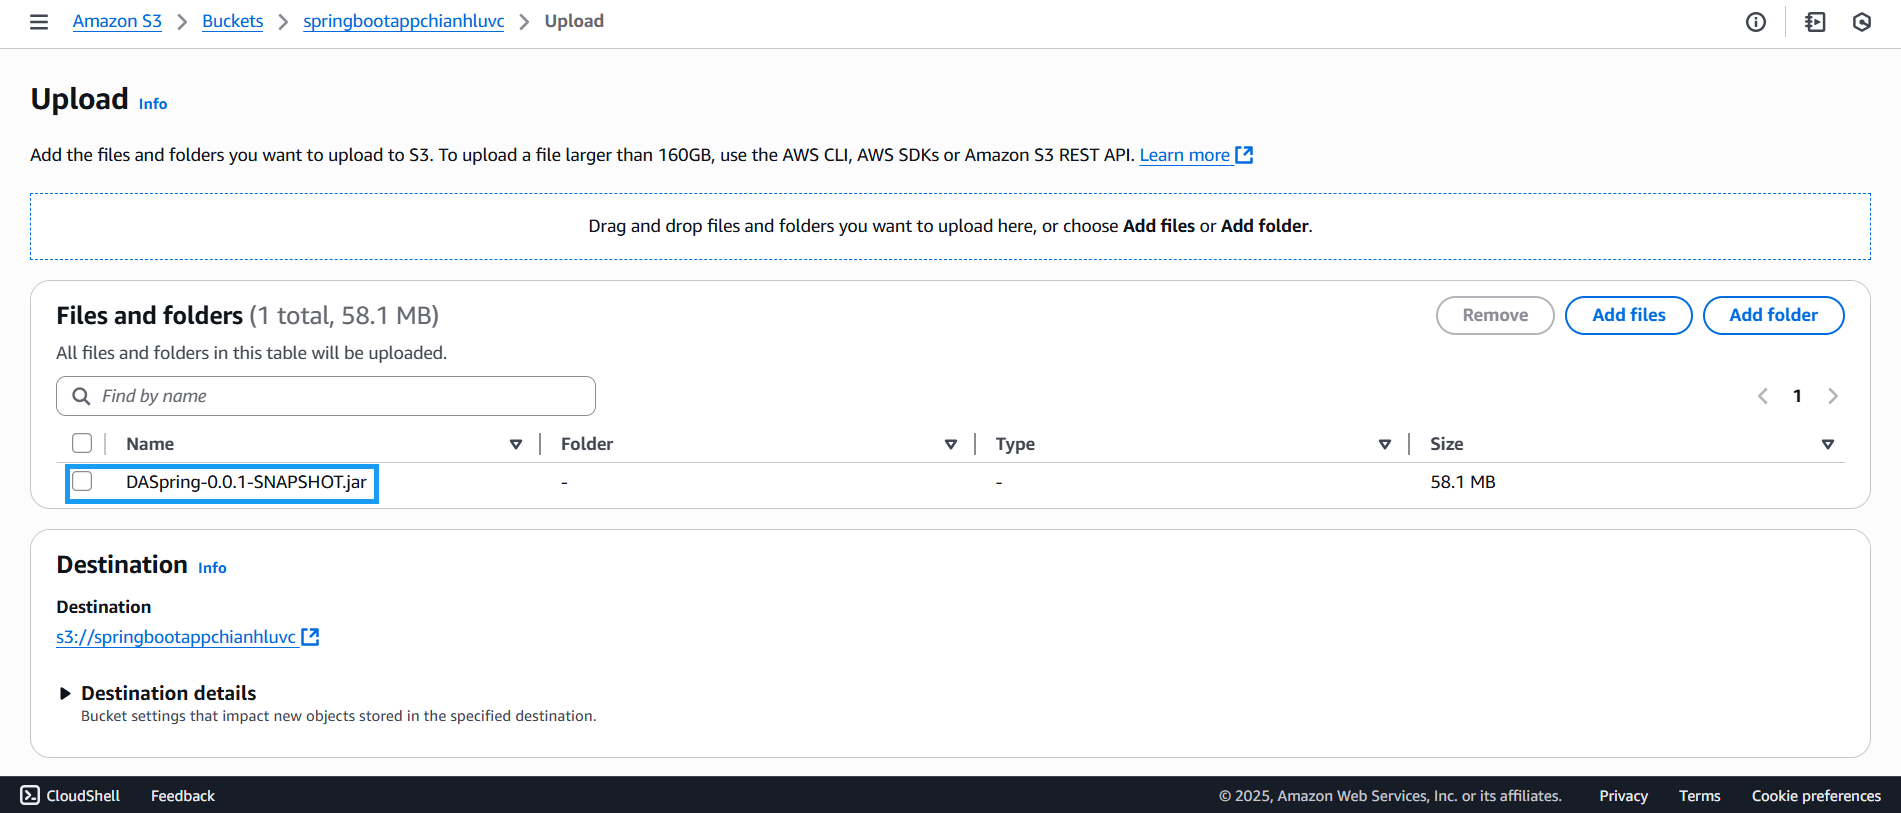
- Then upload the packaged file from the previous section.
- Once the file is selected, its information will be displayed.
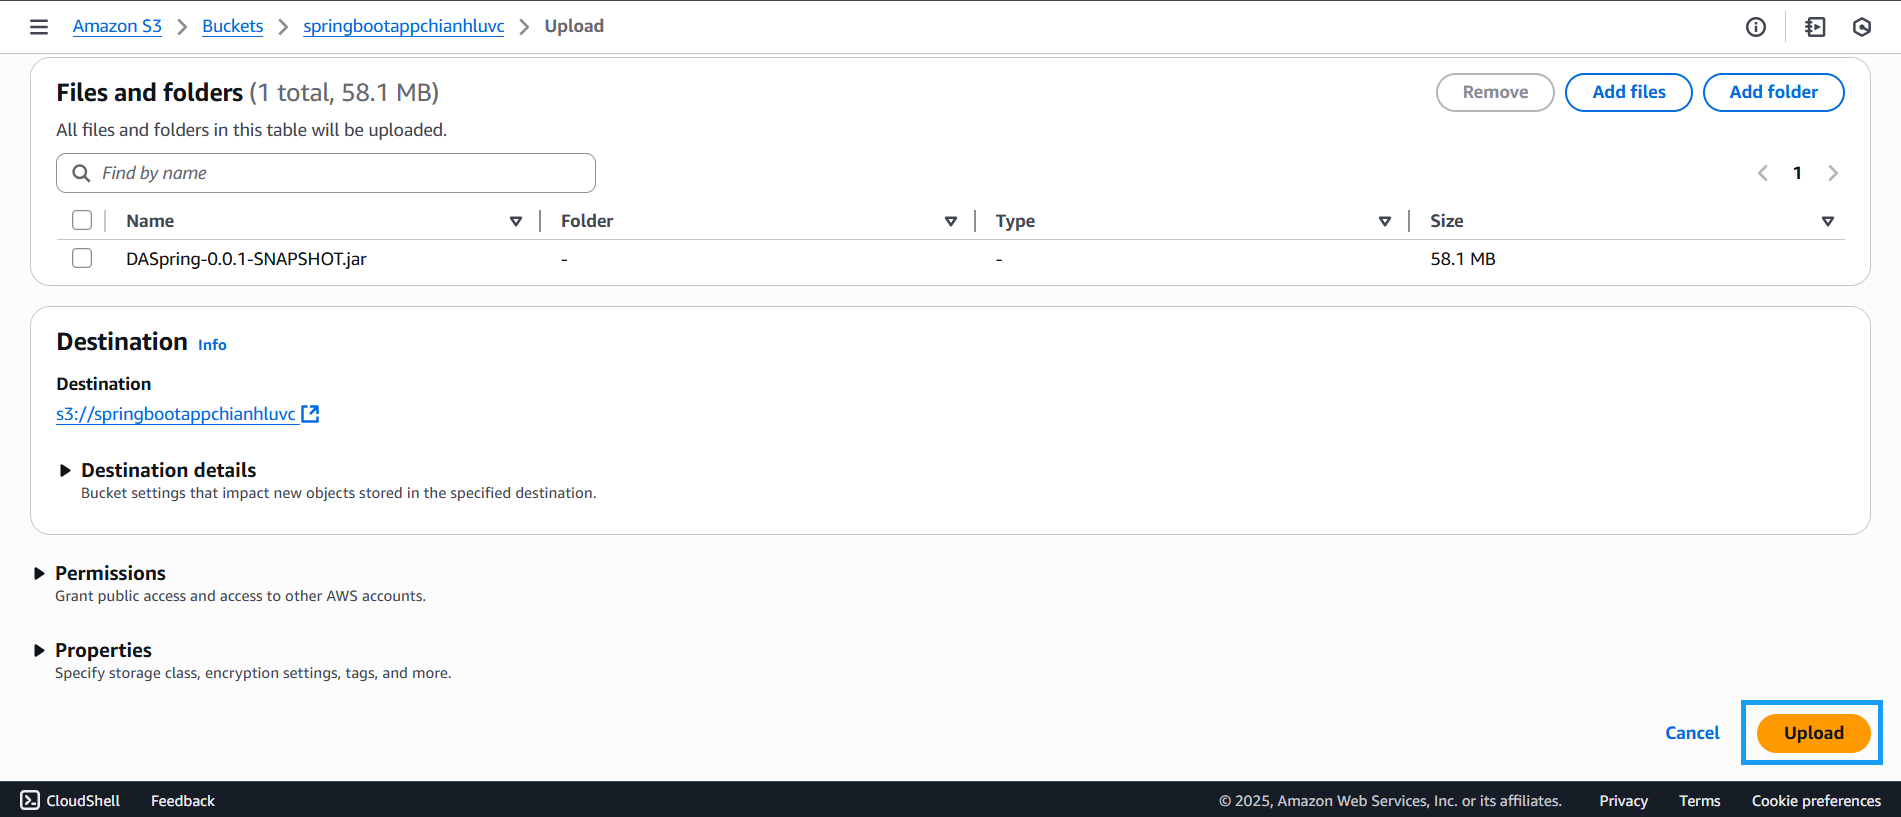
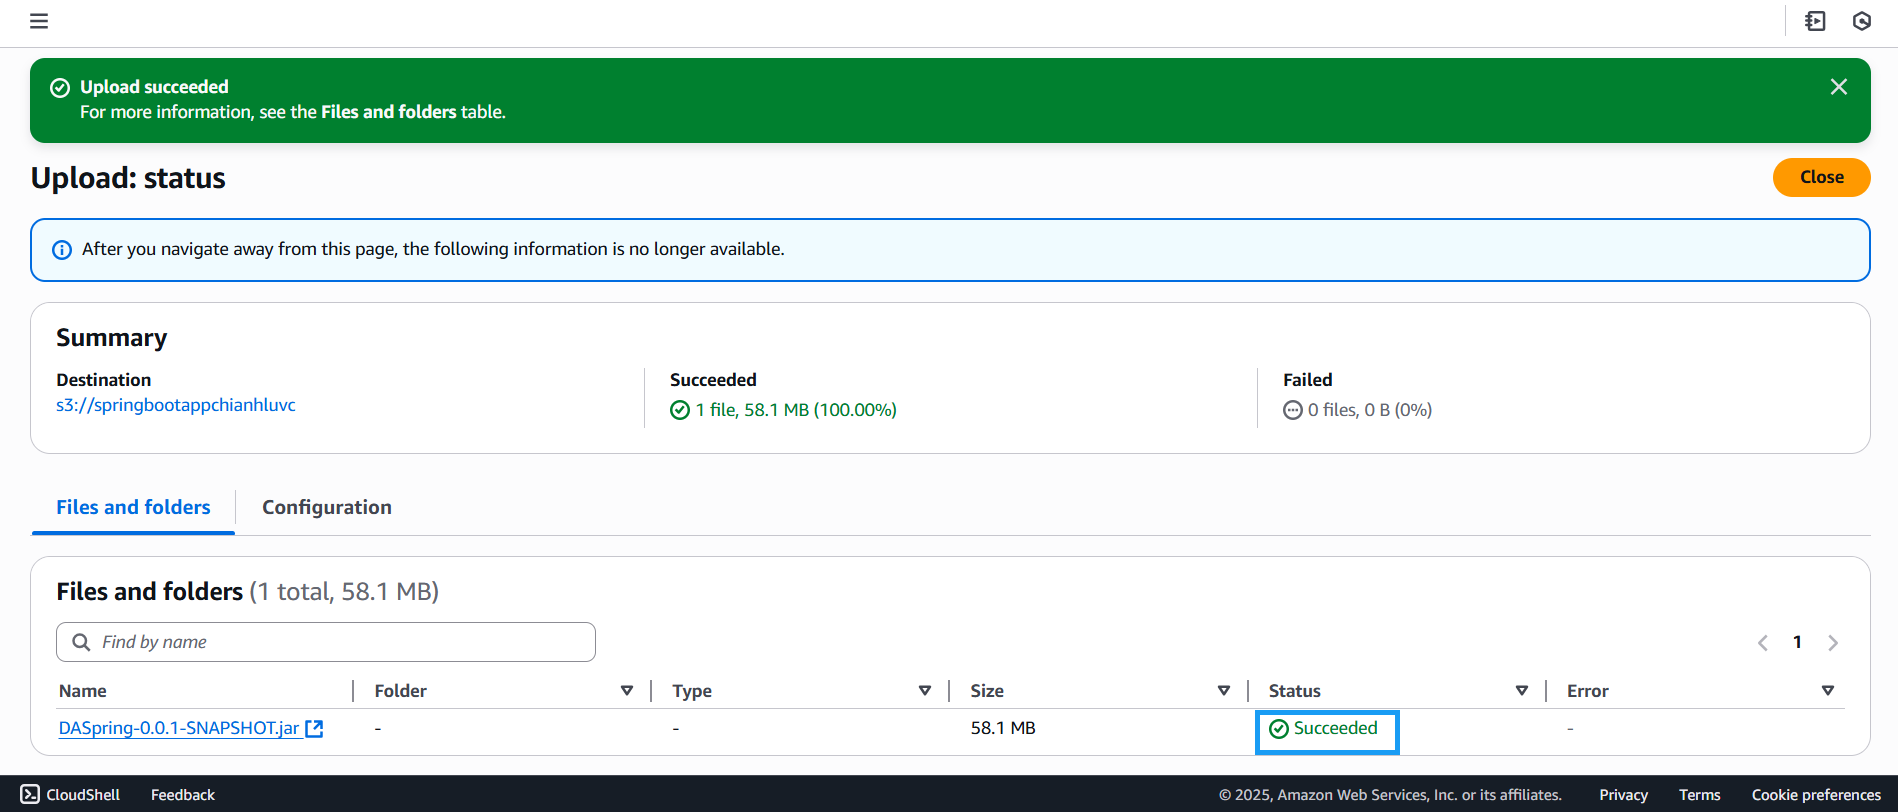
- Then click Upload to start uploading the file.
- Once the upload is successful, the status will be Succeeded.
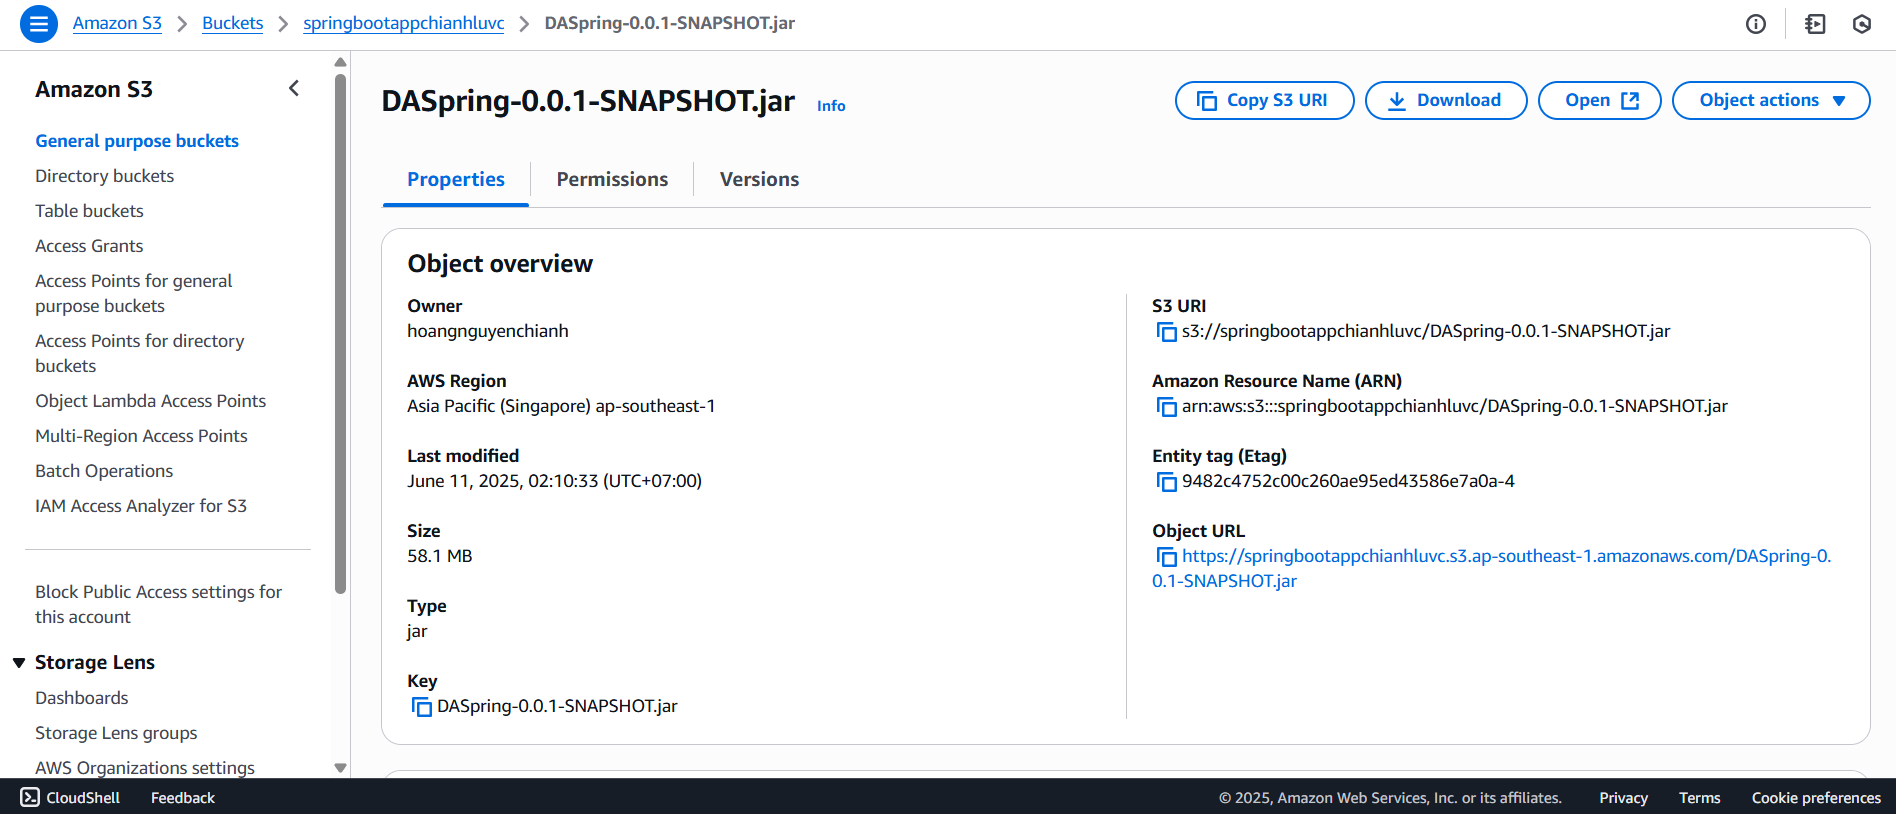
- Click on the uploaded file to view detailed properties.
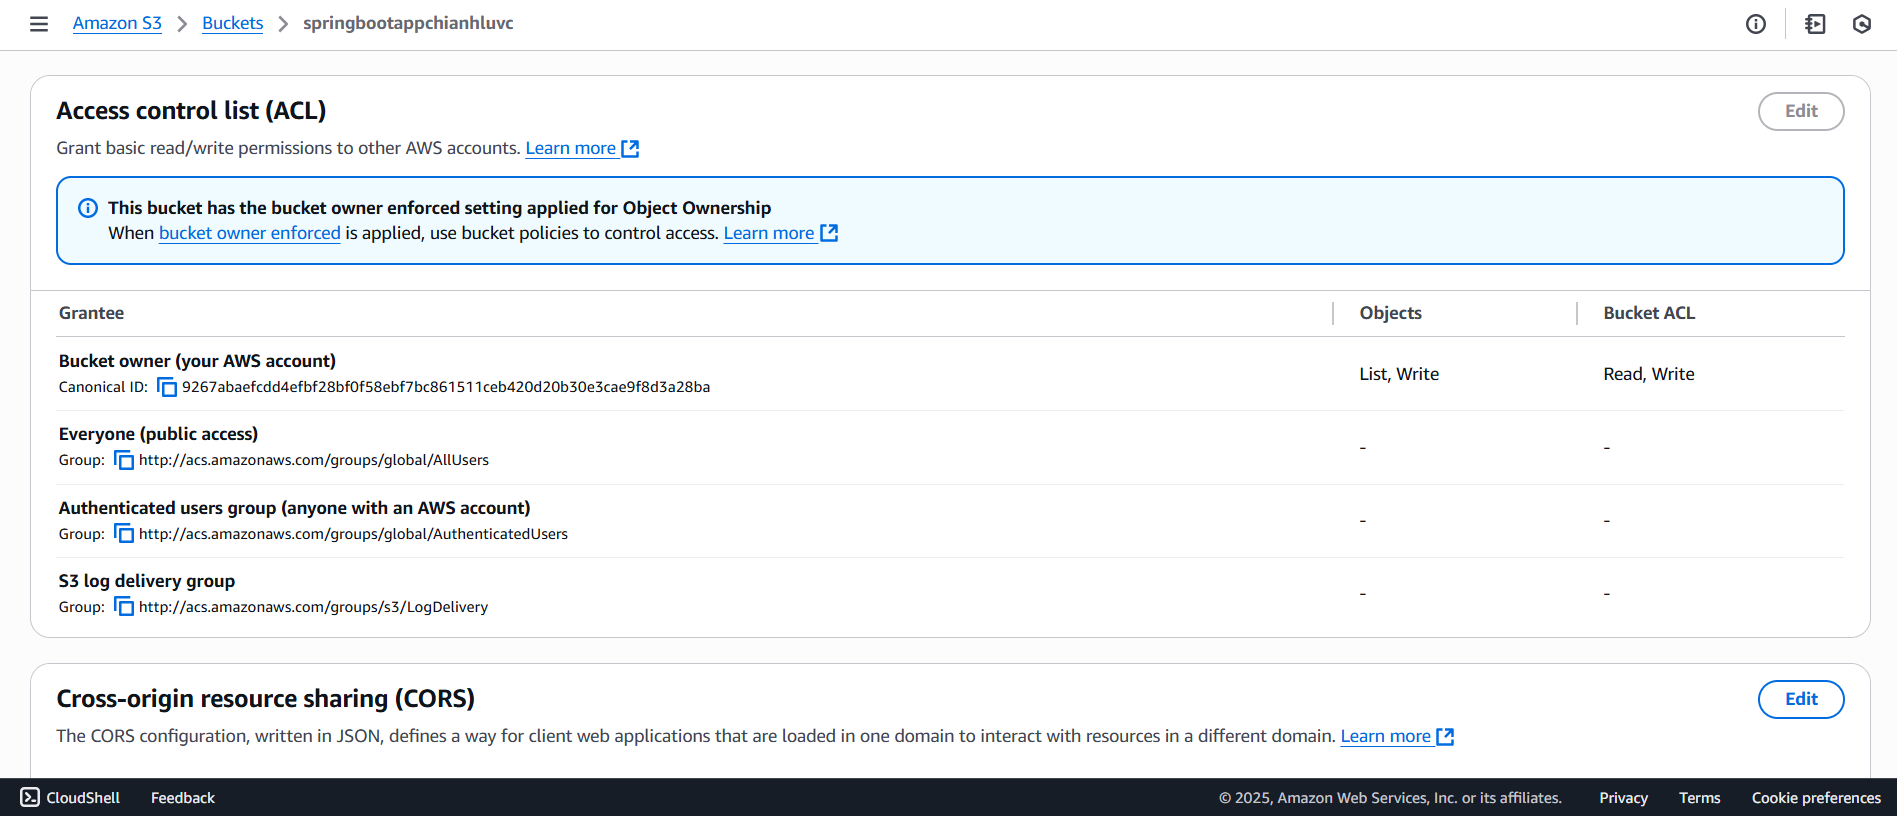
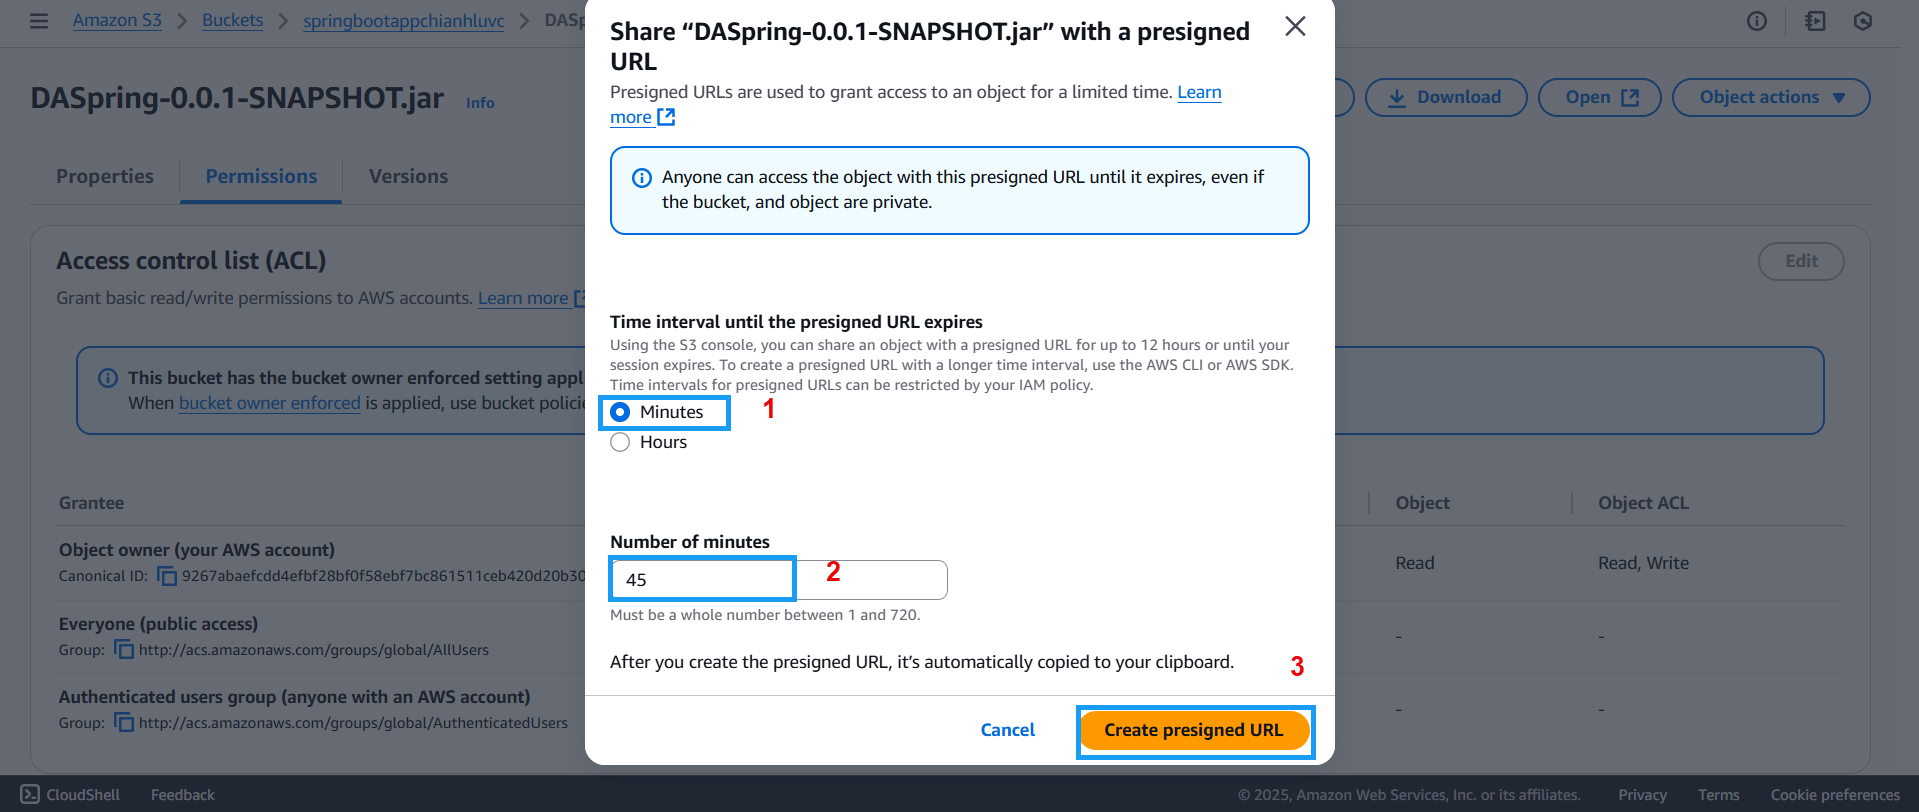
- View the permissions of the bucket that contains the uploaded file.
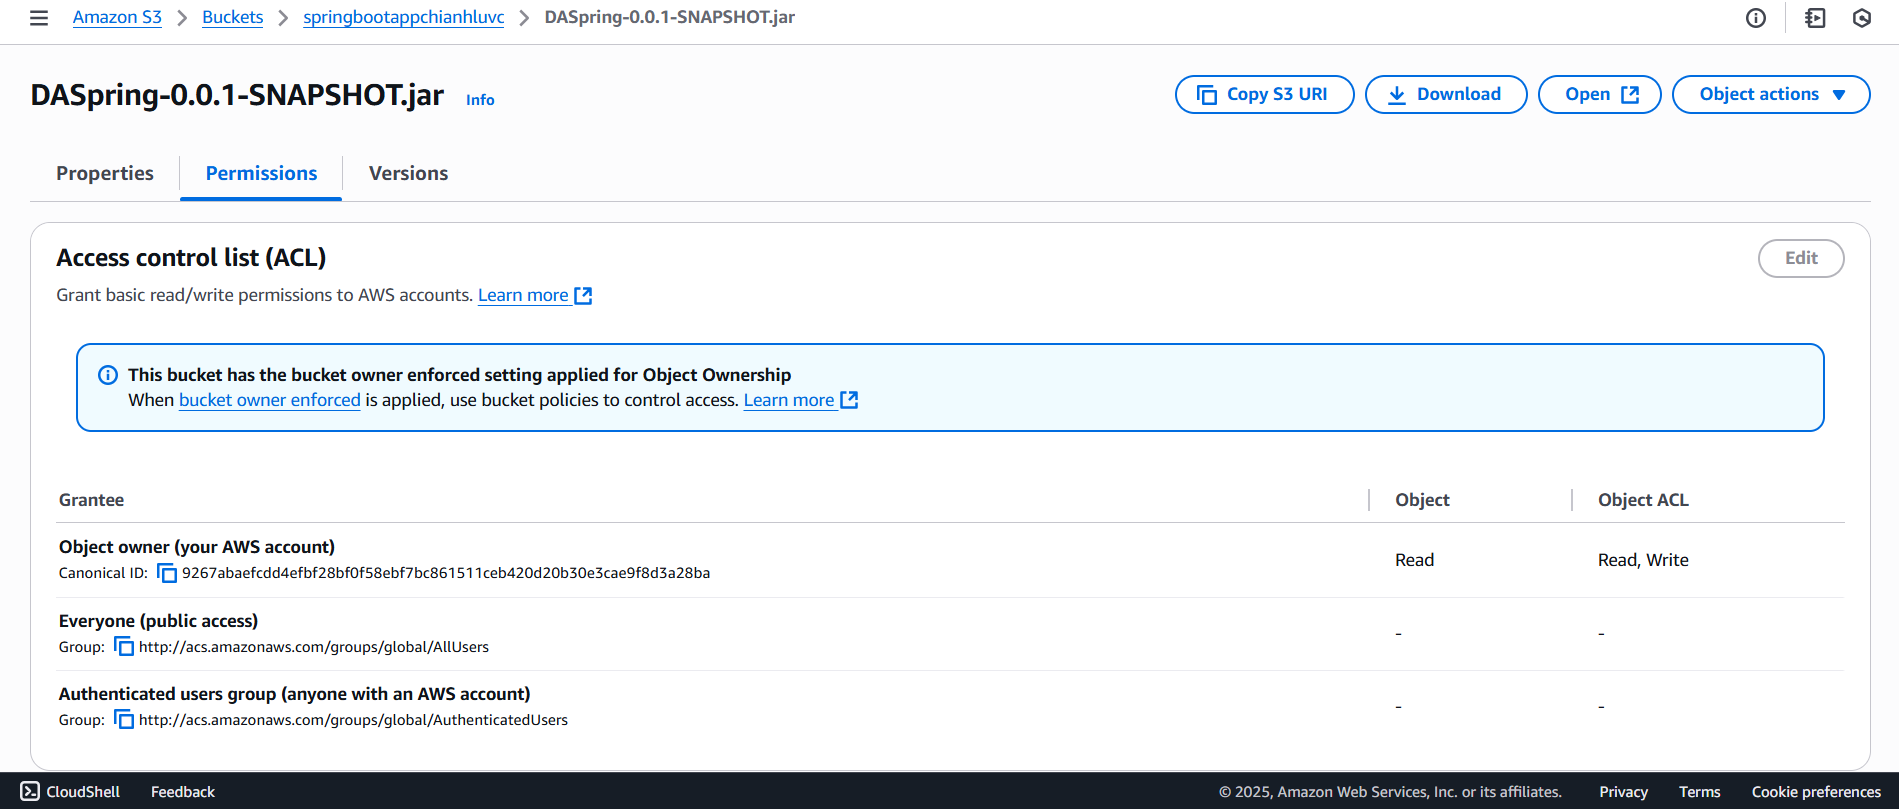
- Click on the uploaded file, then click on Permissions to view its access settings.
- Click Object actions on the right side.

- Then select Share with a presigned URL.

- The Share with a presigned URL screen will appear:
- Select Minutes.
- Enter 45 in the Number of minutes field.
- Click Create presigned URL.
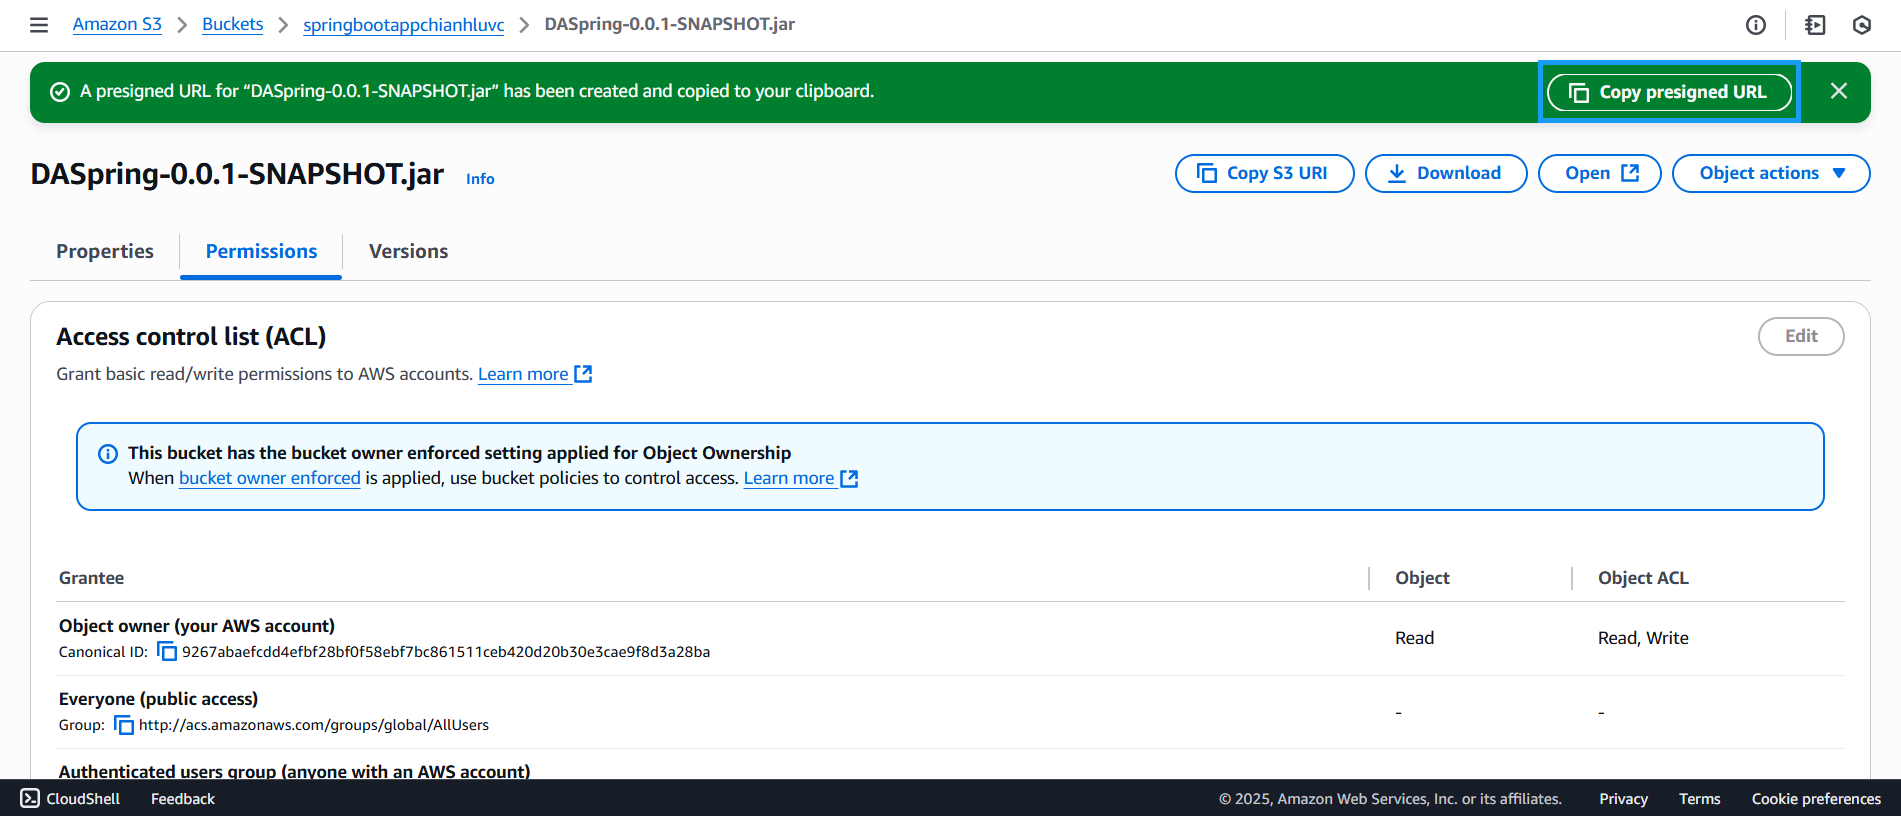
- A notification will appear. Click Copy presigned URL to save the link to the uploaded file.
You’ve now completed the first step of deploying your web application to AWS.